
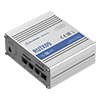


Industrial LTE/GNSS Router Teltonika RUTX09
Teltonika RUTX09 Industrial LTE Router with LTE and GNSS Support belongs among compact, cost-effective, and secure IoT routers. It ensures highly reliable M2M connectivity and delivers stable performance even in demanding operating environments with a wide temperature range.
Fast connectivity and backup connection
The device is equipped with a Dual SIM slot for connectivity backup, 4× Gigabit Ethernet ports (up to 1000 Mb/s), and LED indicators for digital inputs/outputs. The status LEDs clearly display the current strength of the received 4G signal.
Integrated GPS receiver for precise positioning
Thanks to the integrated GPS/GNSS receiver, the router provides continuous information about its exact location. Its main advantages include high LAN port throughput and proven 4G LTE reliability, ensuring stable and secure M2M connectivity.
Key Features:
• Gigabit Ethernet with speeds up to 1000 Mbps
• Dual-SIM with auto Failover, Backup WAN and other SW features
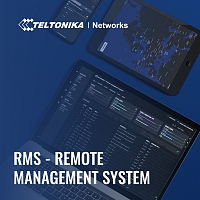
• Teltonika Remote Management System compatible
• Multiple secure '>VPN services
• Easy to use, secure and feature rich OpenWrt based Operating
Package Includes:
• Router RUTX09
• Euro PSU
• 2 x LTE antennas (swivel, SMA male)
• 1 x GNSS antenna
• Ethernet cable (1.5 m)
• QSG (Quick Start Guide)
Try RMS for free by clicking on this link to register your free 30-day demo account!
LINK: https://rms.teltonika.lt/
*Optional accessories
AO-ALTE-MG9S - Antenna GSM/UMTS/LTE Magnetic 90, 5-9 dBi, SMA(m), 3m RG174 – (3m)
AO-ALTE-MG9S5 - Antenna GSM/UMTS/LTE Magnetic 5-9 dBi, SMA(m), 5 m RG174U-DS – (5m)
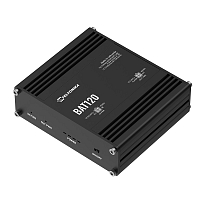
For this router RUTX09 you can buy the Teltonika BAT120 backup power supply, which takes over the power supply of the router for up to 6 hours in the event of a power failure.
We recommend using the complete user manual and documents for configuration, official materials can be found here.
More information can be found in the attached datasheet and quick manual.
Quick Start Guide Video
The Quick Start Guide video guides you step-by-step through setting up the router from unpacking the box, inserting the SIM card, connecting the antennas, and logging into the administration.